Keeping your kitchen counters clutter-free can transform your cooking space into a more functional and inviting area. A clean countertop not only makes meal preparation easier but also contributes to a calm and organized home environment. If your kitchen counters tend to get crowded with gadgets, papers, and other items, don’t worry. With a few practical steps, you can tame the clutter and maintain a tidy surface.
Why Clutter-Free Counters Matter
Cluttered kitchen counters can negatively affect your workflow and overall kitchen experience. When counters are clean and organized, you have more room to prep meals, and it’s easier to keep the space sanitary. Additionally, a neat kitchen can reduce stress and save you time looking for tools or ingredients.
Step 1: Clear Everything Off
Start by removing everything from your counters. This might feel overwhelming, but taking everything off will give you a fresh start. Sort through the items and group them into categories: things you use daily, occasionally, and rarely.
Step 2: Declutter and Decide What to Keep
Once you have everything off the counters, decide what belongs there.
– Daily Essentials: Items like a coffee maker, toaster, or a knife block can stay if you use them every day.
– Occasional Items: Appliances or tools you use less often should be stored in cabinets or pantry spaces.
– Unnecessary Items: Paperwork, mail, or miscellaneous objects have no business on kitchen counters and should be relocated immediately.
Be honest about what you need out in the open. If you rarely use an appliance, store it away to make room.
Step 3: Create Zones for Functionality
Designate specific areas on your countertop for different tasks. For example:
– Prep Zone: Clear space near the sink or stove for chopping and meal prep.
– Coffee or Beverage Station: A small area for coffee makers, mugs, and related items.
– Baking Area: Space for measuring cups, mixing bowls, and baking supplies if you bake often.
Creating zones helps you keep gadgets and tools in their place, reducing random clutter.
Step 4: Use Storage Solutions
Maximize vertical and hidden storage to keep counters clear:
– Wall-mounted shelves or racks: Great for commonly used spices or utensils.
– Under-cabinet hooks: Hang mugs or small pots to free up counter space.
– Drawer organizers: Keep cutlery and smaller items neatly stored.
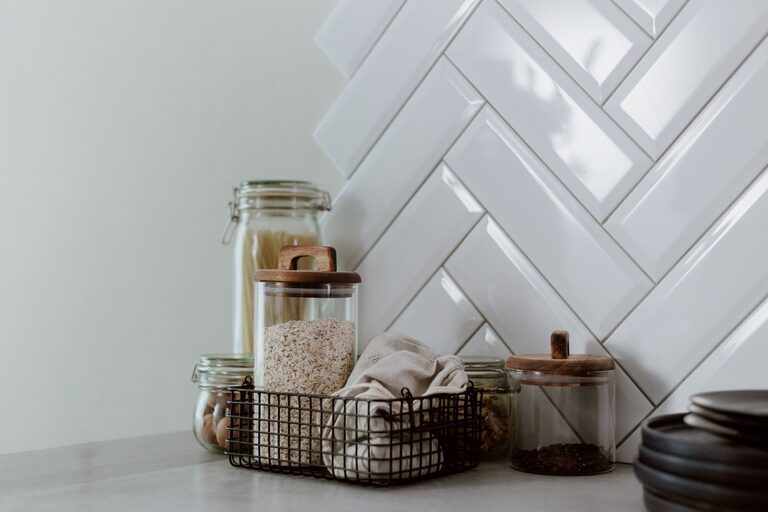
– Countertop containers: Use attractive jars for frequently used ingredients like sugar or flour.
Step 5: Organize Cords and Appliances
Appliance cords can add to the cluttered look. Use cord organizers or clips to keep wires tidy and out of sight. Limit the number of appliances kept out on the counter to those you use daily to maintain a clean look.
Step 6: Establish Daily Habits
Maintaining clutter-free counters requires regular attention:
– Wipe counters daily: Cleaning as you go prevents build-up of crumbs and spills.
– Put items away immediately: After use, appliances and utensils should return to their designated spots.
– Sort mail and papers: Avoid letting piles of mail accumulate by sorting and discarding daily.
Step 7: Personalize Without Overdoing It
A few decorative items like a bowl of fresh fruit or a small plant can add warmth to your kitchen without creating clutter. Keep decorations minimal to maintain a streamlined appearance.
Step 8: Periodically Reassess Your Counters
Every few months, reassess what’s on your counters. Your needs may change, and items that were once essential might be ready to move to storage.
—
Tips for Specific Countertop Types
Different materials might require specific care while organizing:
– Granite or Marble: Avoid heavy or sharp objects to prevent damage; use trays or mats.
– Laminate: Clean spills promptly and use non-abrasive cleaners.
– Wood: Keep counters dry and avoid prolonged contact with water.
Choosing appropriate storage and organization tools can help preserve your countertop’s surface and appearance.
—
Final Thoughts
A clutter-free kitchen counter is achievable with consistent effort and smart organization. By clearing out unnecessary items, creating functional zones, and establishing simple daily habits, your kitchen can become a more pleasant and efficient space. Start small, and soon you’ll enjoy the benefits of a tidy, welcoming kitchen.
Happy organizing!